Drone Aerial Photography: A Complete Guide for Beginners
For decades, getting a quality aerial photograph required renting a helicopter, hiring a pilot, and hauling expensive photographic equipment hundreds of feet into the air. The result was expensive, logistically complicated, and restricted to large productions. Today, aerial photography with a drone fits in a backpack and is within reach of anyone willing to learn to operate it responsibly. But accessibility doesn't mean absence of technique: taking a truly great aerial photo requires understanding camera settings, light, composition, and the legal framework in your country.
This guide covers everything a beginner needs to produce aerial images with quality, from equipment selection through post-processing.
Which Drone to Choose for Aerial Photography
Before talking technique, you need the right equipment. The market today offers options across budget ranges, and the built-in camera is the determining factor when photography is the priority.
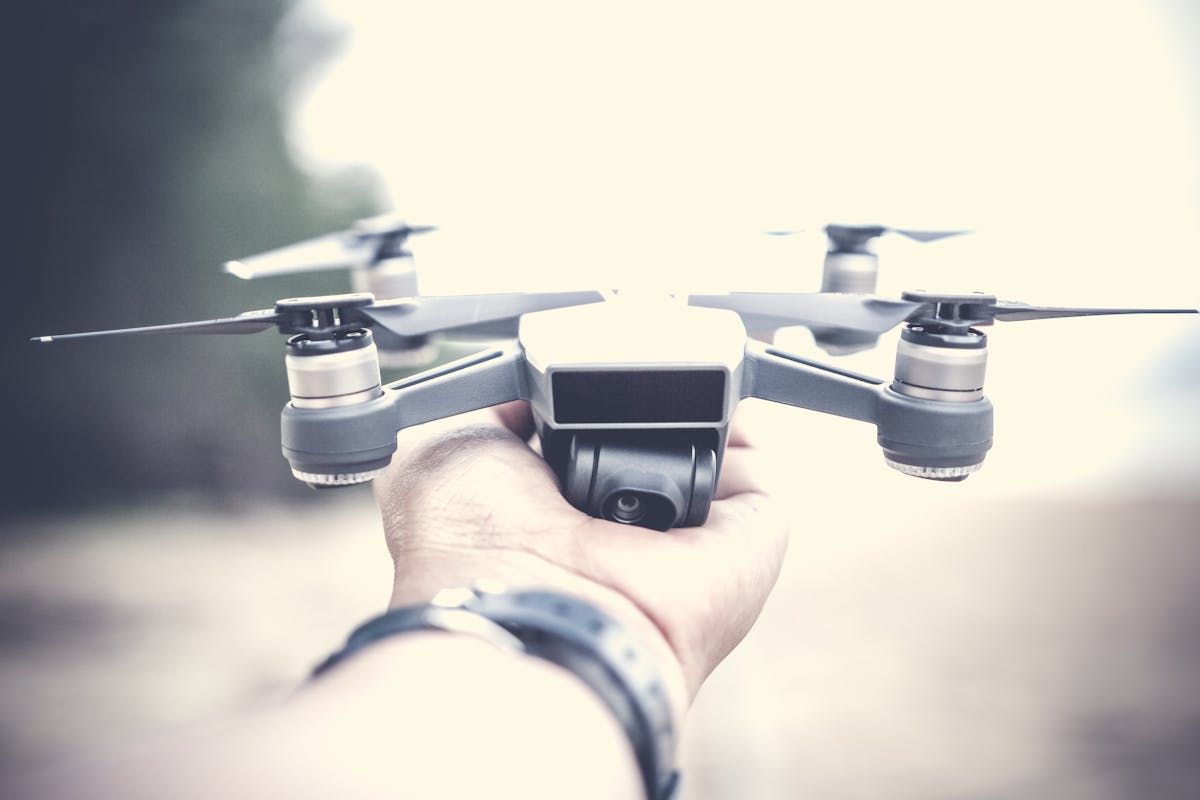
The DJI Mini 4 Pro is the most recommended entry point: weighing just 249 grams (below the threshold that requires registration in most countries), it shoots 4K and has a camera with remarkable quality for the price. For those wanting more without compromising portability, the DJI Air 3 delivers better low-light performance and a dual-camera system. At the top end, the DJI Mavic 3 Pro brings a Hasselblad camera, larger sensor, and three focal lengths, a system that rivals professional studio configurations.
The camera sensor is the most important technical factor. Entry and mid-range drones work with sensors from 1/2" to 4/3", smaller than DSLR cameras, which limits low-light performance, but technological advances in recent years have significantly narrowed this disadvantage.
Camera Settings for Perfect Aerial Photos
Having a good drone isn't enough. Most beginners make the mistake of leaving the camera in automatic mode and then wonder why photos come out blurry, with excessive noise, or with inconsistent colors. Manual control of settings is what separates a mediocre aerial photo from a truly great one.
ISO and Digital Noise
ISO controls sensor sensitivity to light. In aerial photography, the rule is simple: keep ISO as low as possible. Ideally work between ISO 100 and 200 in most situations. Smaller sensors, like those in drones, produce perceptible digital noise from ISO 400–800 upward, and that noise degrades fine details, exactly the kind of detail that makes an aerial photo interesting, like the texture of a soybean field or the rooftops of a historic neighborhood.
In low-light situations (blue hour, for example), increasing ISO is necessary, but compensating with longer exposure time can be a better alternative, provided the drone is sufficiently stable.
Aperture and Shutter Speed
Most consumer drones have fixed or narrowly variable apertures. On models that allow adjustment, the f/4 to f/8 range offers the best balance between sharpness and depth of field. Wider apertures (f/2.8) can introduce lens aberrations visible at the edges of the image.
Shutter speed deserves special attention: never use speeds below 1/500s for static scenes and 1/1000s or faster in windy conditions. Even with electronic stabilization and a three-axis gimbal, drone movement introduces micro-vibrations that, at slow shutter speeds, result in visibly blurred photos. Blur in aerial photography is a common problem and difficult to fix in post-processing.
RAW: The Format You Should Never Skip
If there's one non-negotiable rule in aerial photography, it's this: always shoot in RAW. JPEG processes and compresses the image directly in the drone, discarding information that cannot be recovered later. RAW preserves all data captured by the sensor, enabling significant exposure adjustments, recovery of highlights in overexposed skies, white balance correction, and much more in editing.
The cost is only a larger microSD card. The gain in quality and flexibility is substantial.
In addition to RAW, configure white balance manually before each session. Automatic mode can vary between consecutive frames, generating color inconsistency in sequences, a particularly frustrating problem when producing content for clients.
The Right Time: Golden Hour and Blue Hour
Light is the most important ingredient in photography, and in aerial photography this statement is even more true, because the top-down view requires light that creates dimensionality and visual interest.
Golden hour, the 30 to 60 minutes after sunrise or before sunset, produces the most desirable light in aerial photography. The low sun on the horizon casts long shadows that reveal textures, relief, and shapes that simply disappear when the sun is high. A crop viewed from above at noon looks flat; the same crop during golden hour reveals furrows, contours, and volume. The golden tone also warms colors naturally, reducing the need for heavy corrections in post-processing.
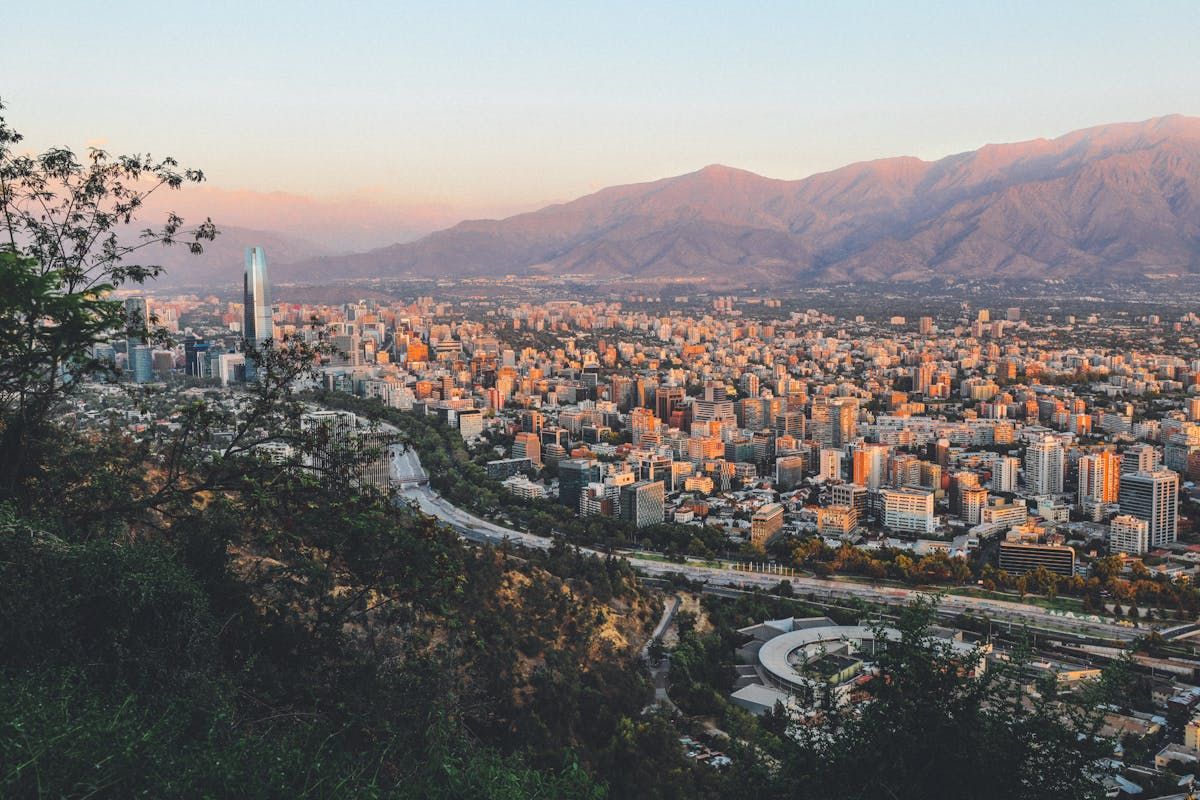
Blue hour, the 20 to 30 minutes before sunrise or after sunset, offers a different opportunity, especially in urban environments. The bluish ambient light balances city artificial lighting, creating images with great tonal richness. For photographing buildings, bridges, and streets at night with a drone, blue hour is often superior to full darkness, because it eliminates the extreme contrast between illuminated zones and total darkness.
Planning the session based on sun position is therefore just as important as any technical camera setting. Apps like PhotoPills and Sun Surveyor show with precision the angle and position of the sun at any location and date.
Composition in Aerial Photography
The aerial perspective transforms the world. Elements that at ground level look ordinary, a road, a river, rows of houses, acquire geometry, pattern, and scale when seen from above. But this transformation doesn't happen automatically: you need to know where to position the drone, at what altitude, and at what angle to extract maximum visual interest from a scene.
Rule of Thirds from Above
The rule of thirds works in aerial photography exactly as in any other modality: divide the frame into a 3×3 grid and position elements of interest on the lines or intersection points. The difference in aerial perspective is that the "horizon" is often not the actual horizon: it might be the edge of a beach, the bank of a river, or the boundary between two types of vegetation. Positioning it at 1/3 of the image (rather than centered) creates balance without mechanical symmetry.
Patterns, Textures, and Abstractions
The top-down perspective reveals invisible geometries at ground level. Farmland shows precise parallel lines; the rooftops of a neighborhood create a mosaic of shapes and colors; beaches reveal the dance between water and sand in patterns that vary with the tide. These textures and patterns are one of aerial photography's greatest assets, and often the strongest subject in an image isn't what the photographer intended to capture, but a pattern discovered during the flight.
Nadir photography, with the camera pointed directly downward at 90 degrees, is the most effective technique for exploring abstract patterns. The result completely eliminates the horizon reference and creates images that frequently resemble paintings or graphic compositions.
Shadows as a Visual Element
Long shadows, available during golden hour, aren't just a byproduct of light; they're an active compositional element. The shadow of an isolated tree in an open field, the silhouette of a building projected over smaller ones, the shadows of boats on the water: these elements create depth, narrative, and visual interest in images that, without them, would be two-dimensional.
Leading lines, roads, rivers, coastlines, rows of trees, also function as eye guides within the frame. Positioning the drone so that one of these lines enters from the edge of the image and leads the eye to the main element is a simple and very effective technique.
Flight Planning Before Takeoff
Quality aerial photography rarely happens by improvisation. Planning before taking off is what ensures you'll be in the right place, at the right altitude, at the right light moment, and within the law.
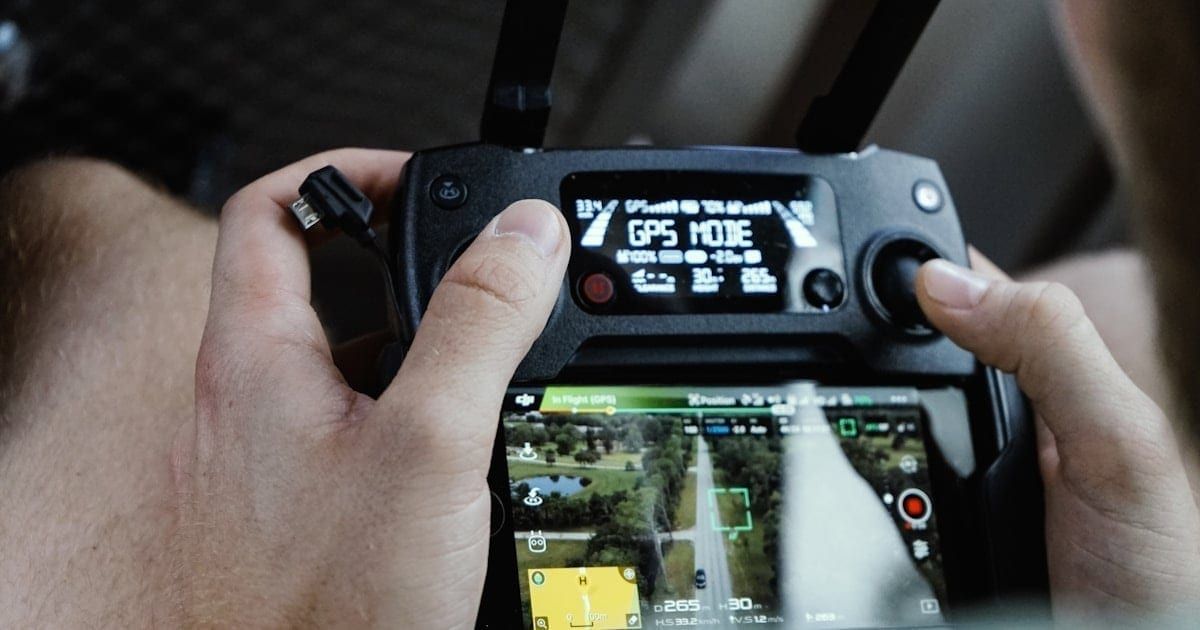
Apps like DJI Fly allow planning automated missions, defining waypoints and altitudes so the drone covers a pre-defined route autonomously. Litchi expands these capabilities with advanced waypoint and automatic orbit features. To discover spots photographed by other pilots and find inspiration before visiting a new place, SkyPixel, DJI's aerial content community, is a valuable resource.
Before any flight, verify the region's airspace using your country's official tools. Areas near airports, helipads, and military installations have restrictions that can make flight illegal regardless of purpose.
Post-Processing Aerial Photos
The work doesn't end when the drone lands. Post-processing is where the aerial photo finds its definitive version, and some corrections are specific to the aerial modality.
Lightroom and Capture One are the most widely used software by professional photographers for processing drone RAW files. The first step in any aerial photo is checking the horizon: even with a stabilized gimbal, small angular deviations are common and need to be corrected. An aerial photo with a tilted horizon, when there's a horizon reference, is immediately perceived as amateur.
Beyond horizon correction, the most common adjustments in aerial photos include: recovering highlights in overexposed skies, increasing clarity to emphasize textures, and color correction to compensate for atmospheric haze that tends to add a bluish-grayish tone to scenes photographed from greater altitudes. The dehaze adjustment in Lightroom is particularly effective for this.
Legal Considerations for Commercial Aerial Photography
When aerial photography is done professionally, meaning there's compensation involved, whether for a client or from selling images, additional requirements typically apply beyond recreational drone registration.
In most jurisdictions, commercial drone operations require:
- A commercial drone operator certificate or license
- Liability insurance
- Potentially, permits for specific locations
The definition of "commercial" varies by country, so consult your local aviation authority for specifics. In the US, Part 107 certification from the FAA is required for commercial drone photography. In the UK, commercial operators need a GVC (General Visual Line of Sight Certificate) or equivalent.
Privacy is another frequently underestimated aspect. Photographing people in private spaces, capturing images of private property without authorization, or recording events with identifiable individuals requires attention to privacy law. Always consult a legal professional before publishing or commercializing images that might raise privacy questions.
Sources: DJI: Aerial Photography | PetaPixel: Drone Photography Tips | FAA: Drones
More like this
Related Articles
Drone Insurance: What You Need to Know (US, UK, Australia, EU)
A complete guide to drone insurance for hobbyists and commercial pilots - covering liability, hull coverage, and country-specific…
How to Make Money with Drones: 10 Real Ways (2026)
From hobbyist to professional: 10 concrete ways to monetize your drone, how much to charge per service, and what certifications yo…
Thermal Camera for Drones: The Complete Guide
Everything you need to know about drone thermal cameras: how infrared sensors work, top models, key applications, and how to choos…